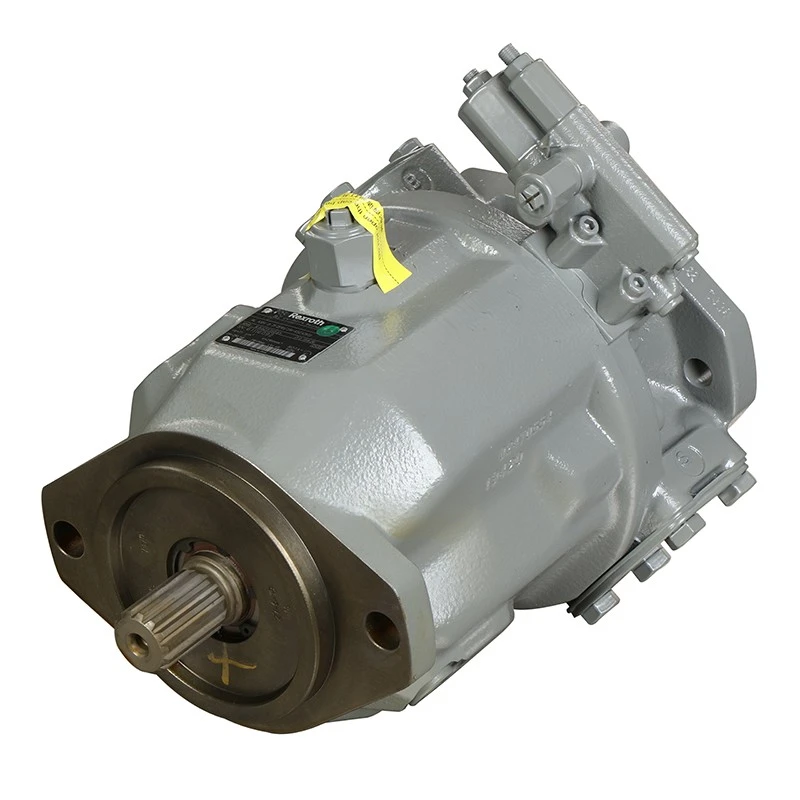
As a supplier of A4VTG pumps, I am often asked about the installation requirements for these high - performance hydraulic pumps. In this blog, I will delve into the key aspects of installing an A4VTG pump to ensure its optimal performance and longevity.
1. Site Preparation
Before installing the A4VTG pump, proper site preparation is crucial. The installation area should be clean, dry, and well - ventilated. Any debris or contaminants in the area can potentially enter the pump during installation and cause damage.
The surface on which the pump will be mounted must be flat and rigid. A non - flat surface can lead to uneven stress distribution on the pump, which may result in premature wear or even pump failure. Use a level to ensure that the mounting surface is within the specified tolerance.
2. Mounting the Pump
The A4VTG pump should be mounted securely to the designated surface. It is essential to follow the manufacturer's instructions regarding the use of appropriate mounting bolts and torque specifications. Over - tightening or under - tightening the bolts can cause problems.
When mounting the pump, make sure that it is properly aligned with the drive shaft. Misalignment can lead to excessive vibration, which not only affects the pump's performance but also shortens its lifespan. Use alignment tools to achieve the correct alignment, and double - check the alignment after tightening the mounting bolts.
3. Hydraulic System Connection
3.1 Inlet and Outlet Connections
The inlet and outlet ports of the A4VTG pump need to be connected to the hydraulic system correctly. Use high - quality hydraulic hoses or pipes that are suitable for the pressure and flow requirements of the system. Ensure that the connections are tight to prevent any leakage.
When connecting the hoses or pipes, pay attention to the direction of flow. The inlet port is where the hydraulic fluid enters the pump, and the outlet port is where the pressurized fluid exits. Incorrect connection can lead to poor pump performance or even damage.
3.2 Filtration
A proper filtration system is essential for the A4VTG pump. Install a high - efficiency filter at the inlet of the pump to remove any contaminants from the hydraulic fluid. Contaminants such as dirt, metal particles, and water can cause abrasion and corrosion inside the pump, leading to reduced efficiency and increased maintenance costs.
The filter should be regularly inspected and replaced according to the manufacturer's recommendations. A clogged filter can restrict the flow of hydraulic fluid to the pump, causing cavitation and potential damage.
4. Electrical Connection (if applicable)
Some A4VTG pumps may have electrical components, such as solenoids or sensors. If your pump has such components, ensure that the electrical connections are made correctly.
Use appropriate electrical cables and connectors that are rated for the voltage and current requirements of the pump. Follow the wiring diagram provided by the manufacturer to avoid short - circuits or incorrect operation.
It is also important to provide proper grounding for the electrical components to prevent electrical interference and ensure safe operation.
5. Fluid Filling and Priming
Once the pump is installed and all connections are made, it is time to fill the hydraulic system with the appropriate fluid. Use the hydraulic fluid recommended by the pump manufacturer. Different pumps may require different types of fluids based on their operating conditions, such as temperature and pressure.
After filling the system, prime the pump to remove any air from the hydraulic circuit. Air in the system can cause cavitation, which is the formation and collapse of vapor bubbles in the fluid. Cavitation can damage the pump components and reduce its efficiency. To prime the pump, run it at a low speed for a short period while checking for any air bubbles in the fluid.
6. Testing and Commissioning
Before putting the A4VTG pump into full - scale operation, it is necessary to conduct a series of tests. First, check for any leaks in the hydraulic system. Inspect all connections, hoses, and fittings for signs of fluid leakage.
Next, run the pump at a low speed and gradually increase the speed while monitoring its performance. Check the pressure, flow rate, and temperature of the hydraulic fluid. These parameters should be within the specified range of the pump.
If any abnormal noise, vibration, or temperature rise is detected during the testing, stop the pump immediately and troubleshoot the problem.

As a supplier, we not only offer high - quality A4VTG pumps but also have other excellent hydraulic pumps in stock, such as the [A10VSO45DFR1/32R - VPB12N00 Hydraulic Pump of Rexroth for Walking Machinery in Stock](/piston - pumps/rexroth - pump/a10vso45dfr1 - 32r - vpb12n00 - hydraulic - pump - of.html) and the [A11VO60LRDS/10R - NSC12K02 Hydraulic Pump of Rexroth for Walking Machinery in Stock](/piston - pumps/rexroth - pump/a11vo60lrds - 10r - nsc12k02 - hydraulic - pump - of.html). You can also explore our [A10VSO Pump](/piston - pumps/rexroth - pump/a10vso - pump.html) for more options.
If you are interested in our A4VTG pumps or any other products, we welcome you to contact us for procurement and further discussion. We are committed to providing you with the best products and services.
References
- Manufacturer's installation manual for A4VTG pump
- Hydraulic system design and installation guidelines


